
How to Create an NFT? The Ethereum ETH -0.66% blockchain is the most used blockchain and has the largest ecosystem for creating, buying and selling. This article will explain how to create NFTs on the Ethereum blockchain.
How to Create an NFT?
In this example, we will use OpenSea. This platform was chosen because OpenSea is the most popular marketplace for all NFTs and can be used by anyone without the need to apply and be accepted by the platform.
This article will introduce you to:
- How to convert fiat currency to cryptocurrency
- How to create a crypto wallet
- How to open an account on OpenSea
- How to create a collection
- How to Create an NFT
Step 1: Convert Fiat to Crypto
If you haven’t exchanged your currency yet, you will first need to convert your fiat currency into Ether, which is the “native” currency on the Ethereum blockchain.
Accounts can be established on platforms such as Coinbase and exchanged on demand.
Coinbase may not be available in some regions. Other platforms for exchanging cryptocurrencies are available at this time, so you must check which platforms are accessible in your region.
Step 2: Create a Crypto Wallet
Once you have your ETH ready, you can create a crypto wallet and download it to your browser in order to connect NFTs and trade on the NFT market.
You can create a Coinbase wallet or other wallets like MetaMask, ColleTrust Wallet and Fortmatic.
Many users choose to use MetaMask, or have multiple wallets at the same time.
Setting up these wallets is as simple as following the instructions listed on the wallet website. Once a crypto wallet is created, ETH can be transferred into the wallet.
Step 3: Open an account on Open Sea
Now that you have mastered the basics, it is time to create your first NFT.
Go to OpenSea and click on the top right corner of “My Profile”, then press “Sign In” and follow the instructions to connect your wallet.
Step 4: Create a Collection
Once logged in, click “Create” at the top, then “My Collections”. Verification with a digital login may be required to ensure that it is the person who is logged in.
You’ll see this when you go to the My Collections page.
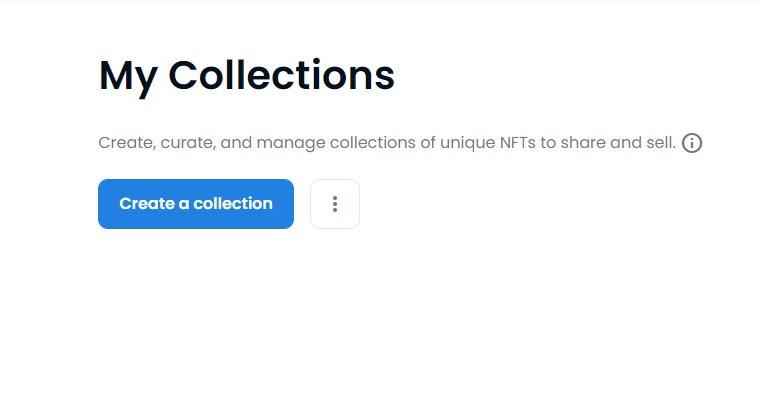
Next, click the blue Create button. A window will pop up where you can upload your artwork and add a name and description to it.
At this point, you’re just creating a folder for your NFT.
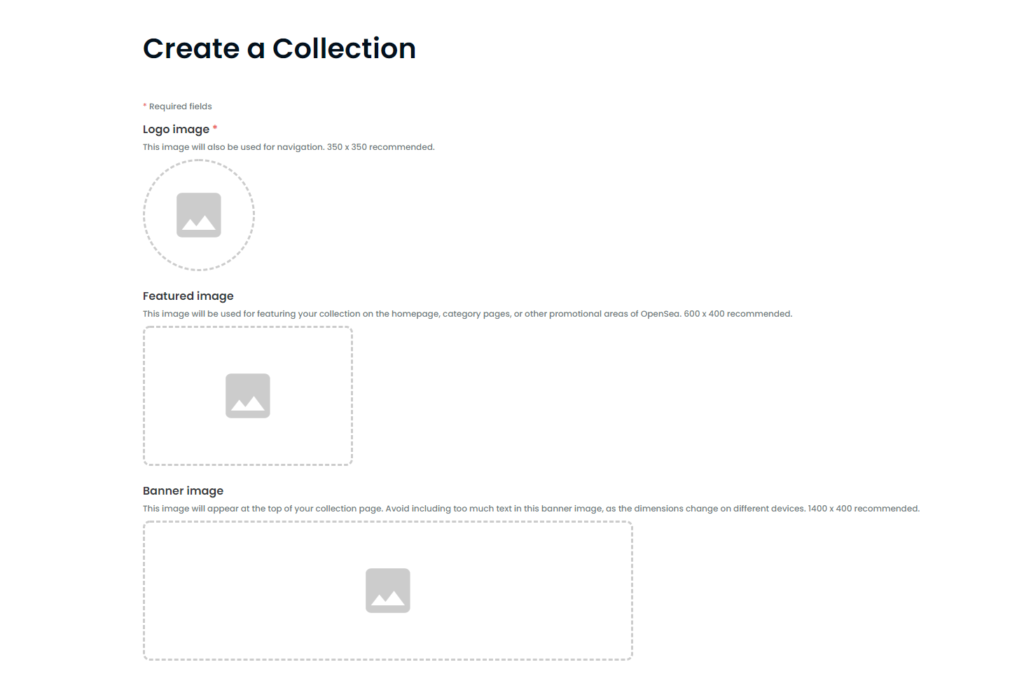
After adding a title image with all the information, the image will be added to your favorites.
Favorites cover banners can be added in the gray space shown.
Click the pencil icon in the upper right corner to add a banner.
Step 5: Create NFT
Click the blue button (Add New Item) that says Add New Item.
At this point, it is possible to upload artwork, songs, videos, etc., and also add the name of the NFT, an external link to the web page or more information related to it, and a description of the artwork.
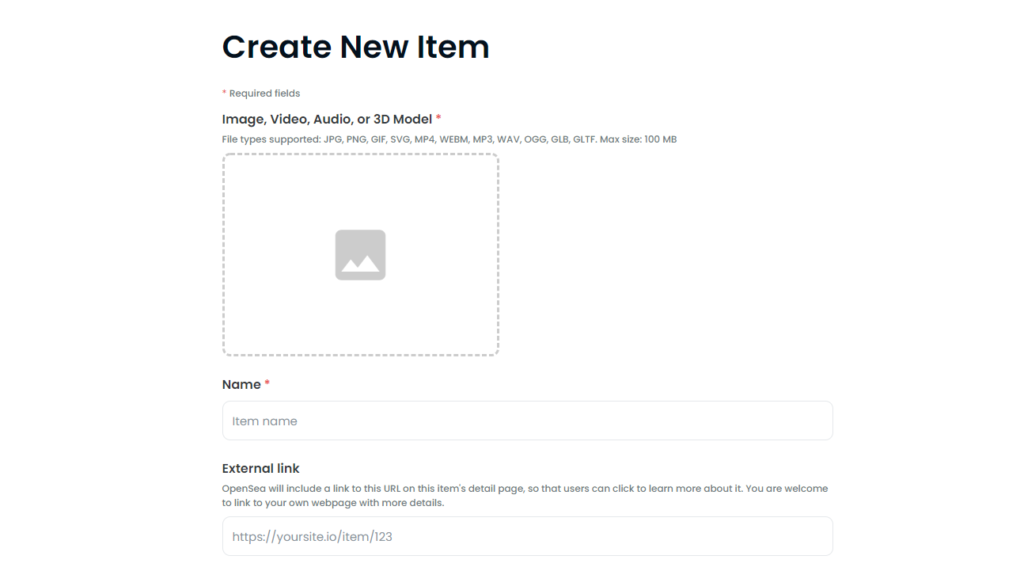
Special features to add to it can be chosen to make it more valuable and unique.
After clicking Create, the first NFT is created! Artwork should now be visible in Favorites.
Other points of attention
- OpenSea charges a gas fee of 2.5% per transaction.
- Royalties for future resale of NFTs can be collected by editing the “collection” (money in royalties is automatically deposited into the wallet).
- There may be an “Activate Other Currency” or “Auction Type” fee.
- Must be sold after two transactions are completed. They are: Initialize your account to sell. As well as allowing OpenSea to access items in your favorites when they are on sale. Apart from gas fees, there are no other fees for these two transactions.
- When these two steps are completed, a digital signature is required to confirm the artwork that will be sold. After that, there will be no additional gas fees (the buyer will pay for future fees).
- Although OpenSea has gas-free mining, if you accept a buyer’s price lower than your asking price, and you close the deal, you (the seller) are responsible for paying the gas fee.
Investment is risky. The views and opinions in this article are solely those of the author and do not constitute any investment advice.


